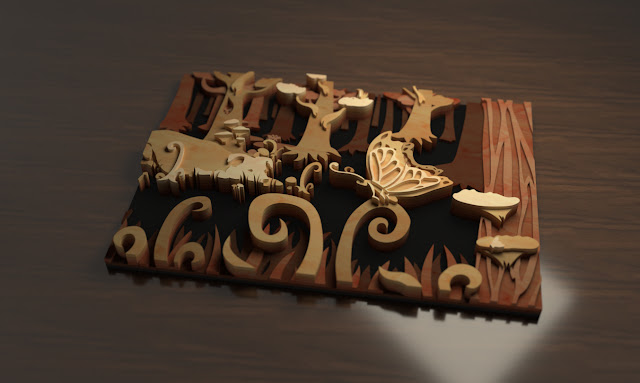
Project 1 - Laser Cut Illustration (entire process)
I started this project by brainstorming, making brief thumbnail sketches of different ideas.
I then continued to refine my idea using different tools such as Procreate on an iPad and Adobe Illustrator.
Once I had my idea sketched out in Adobe Illustrator I moved to Rhino, using 2D drawing tools to trace the sketch.
Next I had to separate my sketch into layers so they could be cut out and stacked on top of each other.
Using these layers in Rhino I made a brief 3D prototype to help me determine the size I wanted to cut the piece out.
From the digital prototype I also made some renders of the piece to get a better idea of how the final piece will look once cut, stained, and assembled in the final material.
I organized all the pieces into a cut file for the laser cutter, nested together and at the correct size to fit on the material.
Next I cut out the design in paper to make a physical prototype of the piece. This helped me problem solve any issues before I started cutting the final material.
Once I was happy with the prototype I started cutting the wood, then staining and assembling the pieces.
The final piece.


.jpg)


Comments
Post a Comment