Project 1 - Laser Cut Design Ideas
Inspiration images - Laser cutting (complex and more simple), portraits, dog portraits
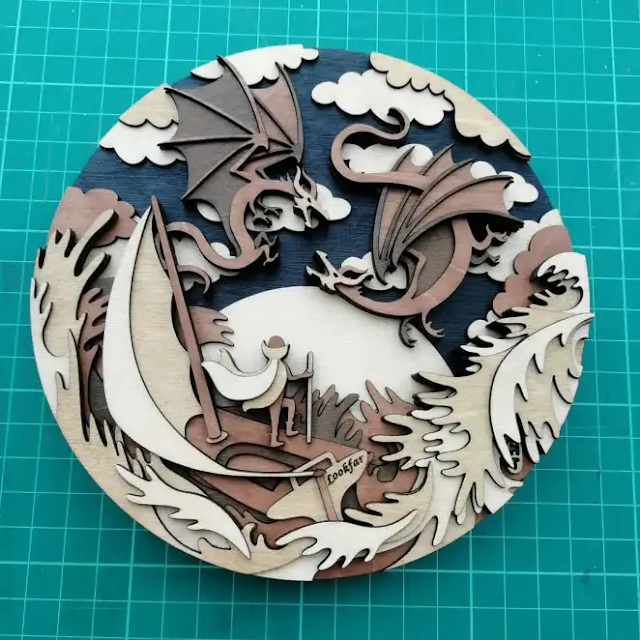
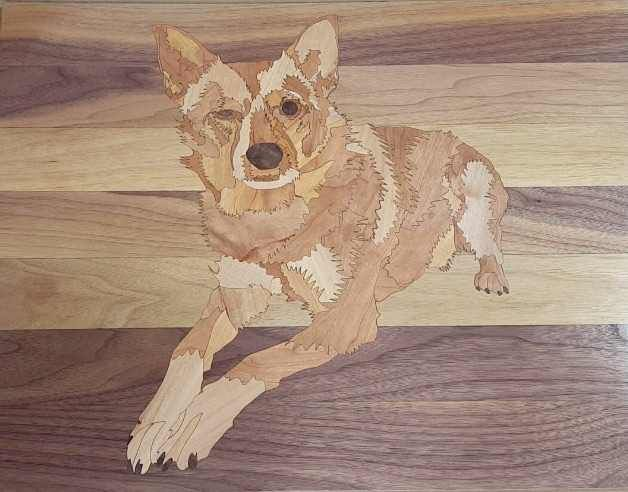
I started out brainstorming for this project by collecting lots of photos of inspirations. I found a style of laser cut illustrations that I really like and collected examples of both complex ones and more simple ones. I also collected some laser cut portrait examples because I am combining this project with a portrait project for a different class. My original plan for that class was to make a portrait of my dog, so I looked for some laser cut dog portraits as well.
Also I found out that a lot of my favorite pieces are made by the same person :


I then though about was parts of the different inspiration images i was drawn to and what exactly needs to be included for my project to fit for both classes. I know I want to do a portrait of my dog, incorporating the style of my favorite laser cuts, which have really busy, detailed, environments full of flowing shapes and whimsy. I want to try to create the depth and flow as my favorite laser cuts.
Next I looked for reference photos of my dog to base my thumbnail concepts off of.
Once I had some ideas I traced over the references to create quick concept sketches. Each idea has room to add lots of fun, detailed environment to create more depth in the laser cut.
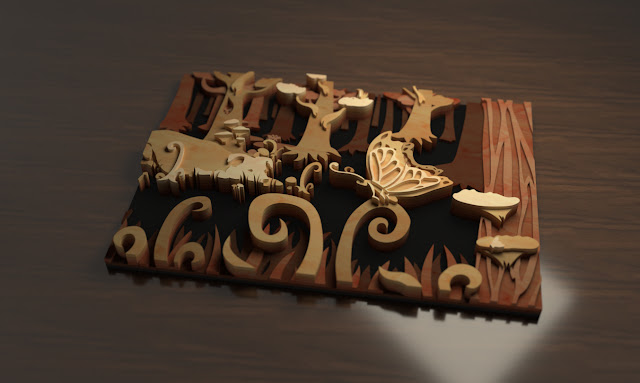
Next I had to choose which concept I wanted to go with and continue to develop the idea into a more defined sketch. I also added some wood shades to see simulate how it might look with the depth of different layers. For the materials to make the laser cut I would like to use stained wood similar to my inspiration images, but I think it would be a good idea to make a test with cardstock first.
The concept I went with is my dog Pearl in a whimsical fantasy forest watching/hunting a butterfly.

Next I starting making the image in illustrator. This will become the final project for my other class, and the basis from which I will make my rhino laser cut file.


Fantastic Niko!
ReplyDelete